Globally, potatoes are a highly cherished mainstay in cuisines, and cultivating them in your backyard is not only satisfying but also rather easy. Before planting the potatoes, they must be chopped, which is a crucial stage in the process. This method, referred to as “seed potato preparation,” can significantly increase your potato crop’s yield and development potential.
How Come Potatoes Are Cut Before Planting?
Increasing Production
As long as a chopped potato contains one or more “eyes,” or buds, it can develop into a new plant. This is why every chopped potato piece is called a “seed.” Cutting the potatoes will allow you to grow more plants overall from a single potato, therefore increasing your harvest.
Disease Management
When potatoes are sliced a few days prior to planting, a protective covering known as a callous forms on the sliced surfaces. This callousing procedure encourages a healthy potato crop and lowers the danger of soil-borne infections.
Controlling Size
You may control the size and consistency of your potato crop by cutting larger seed potatoes. Potatoes with smaller chunks are easier to handle and have a more uniform size.
How-To Guide: Cutting and Planting Potatoes in Easy StepsIn order to guarantee a successful potato harvest, adhere to these easy steps:
- Selecting the Correct Potatoes
To prevent illnesses, choose certified, premium seed potatoes. Think about the cultivars that are best suited to your soil type and that flourish in your environment.
2. Slicing the potatoes
To give the potatoes time to callous, cut them 1-2 days before planting. To avoid breaking the potato, cut it with a clean, sharp knife. Ensure that every piece you cut contains a minimum of one or two buds or eyes.
3. Drying the Sliced Parts
The chopped potato pieces should be kept out of direct sunlight in a cool, dry place. To prevent the cuts during planting, allow them to harden and get callused.
4. Getting the Soil Ready
For planting, pick a sunny spot with soil that drains properly. Add aged manure or compost to the soil to enrich it and add vital nutrients.
5. Planting
Plant the potato pieces two to three inches deep in the ground, eyes up. Arrange the parts in rows about 12 inches apart.
6. Taking Good Care of Plants
Water your potato plants often enough to keep the soil damp but not soggy. To keep the sprouting tubers from becoming green as the plants grow, mound the dirt around them.
7. Gathering
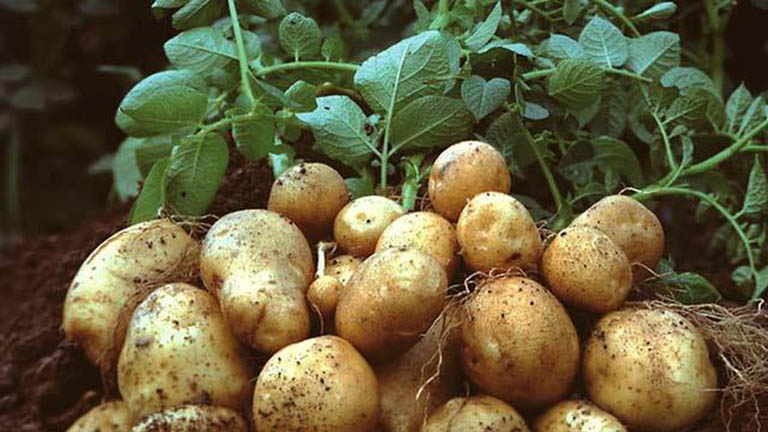
When the foliage begins to die back, your potatoes are ready to be harvested. After carefully excavating the potatoes from the plants, savor the results of your hard work!
A wooden bucket brimming with recently picked potatoes
This simple yet effective method of cutting potatoes before planting can make a big difference in the health and yield of your crop. From your own garden, you may harvest an abundant supply of this adaptable and nourishing vegetable with the right planning, planting, and maintenance.
Remember that although it’s customary to chop seed potatoes, it’s important to take into account the particular needs of the potato type you select. A healthy and fruitful potato garden can also be further ensured by following good gardening practices such as crop rotation.